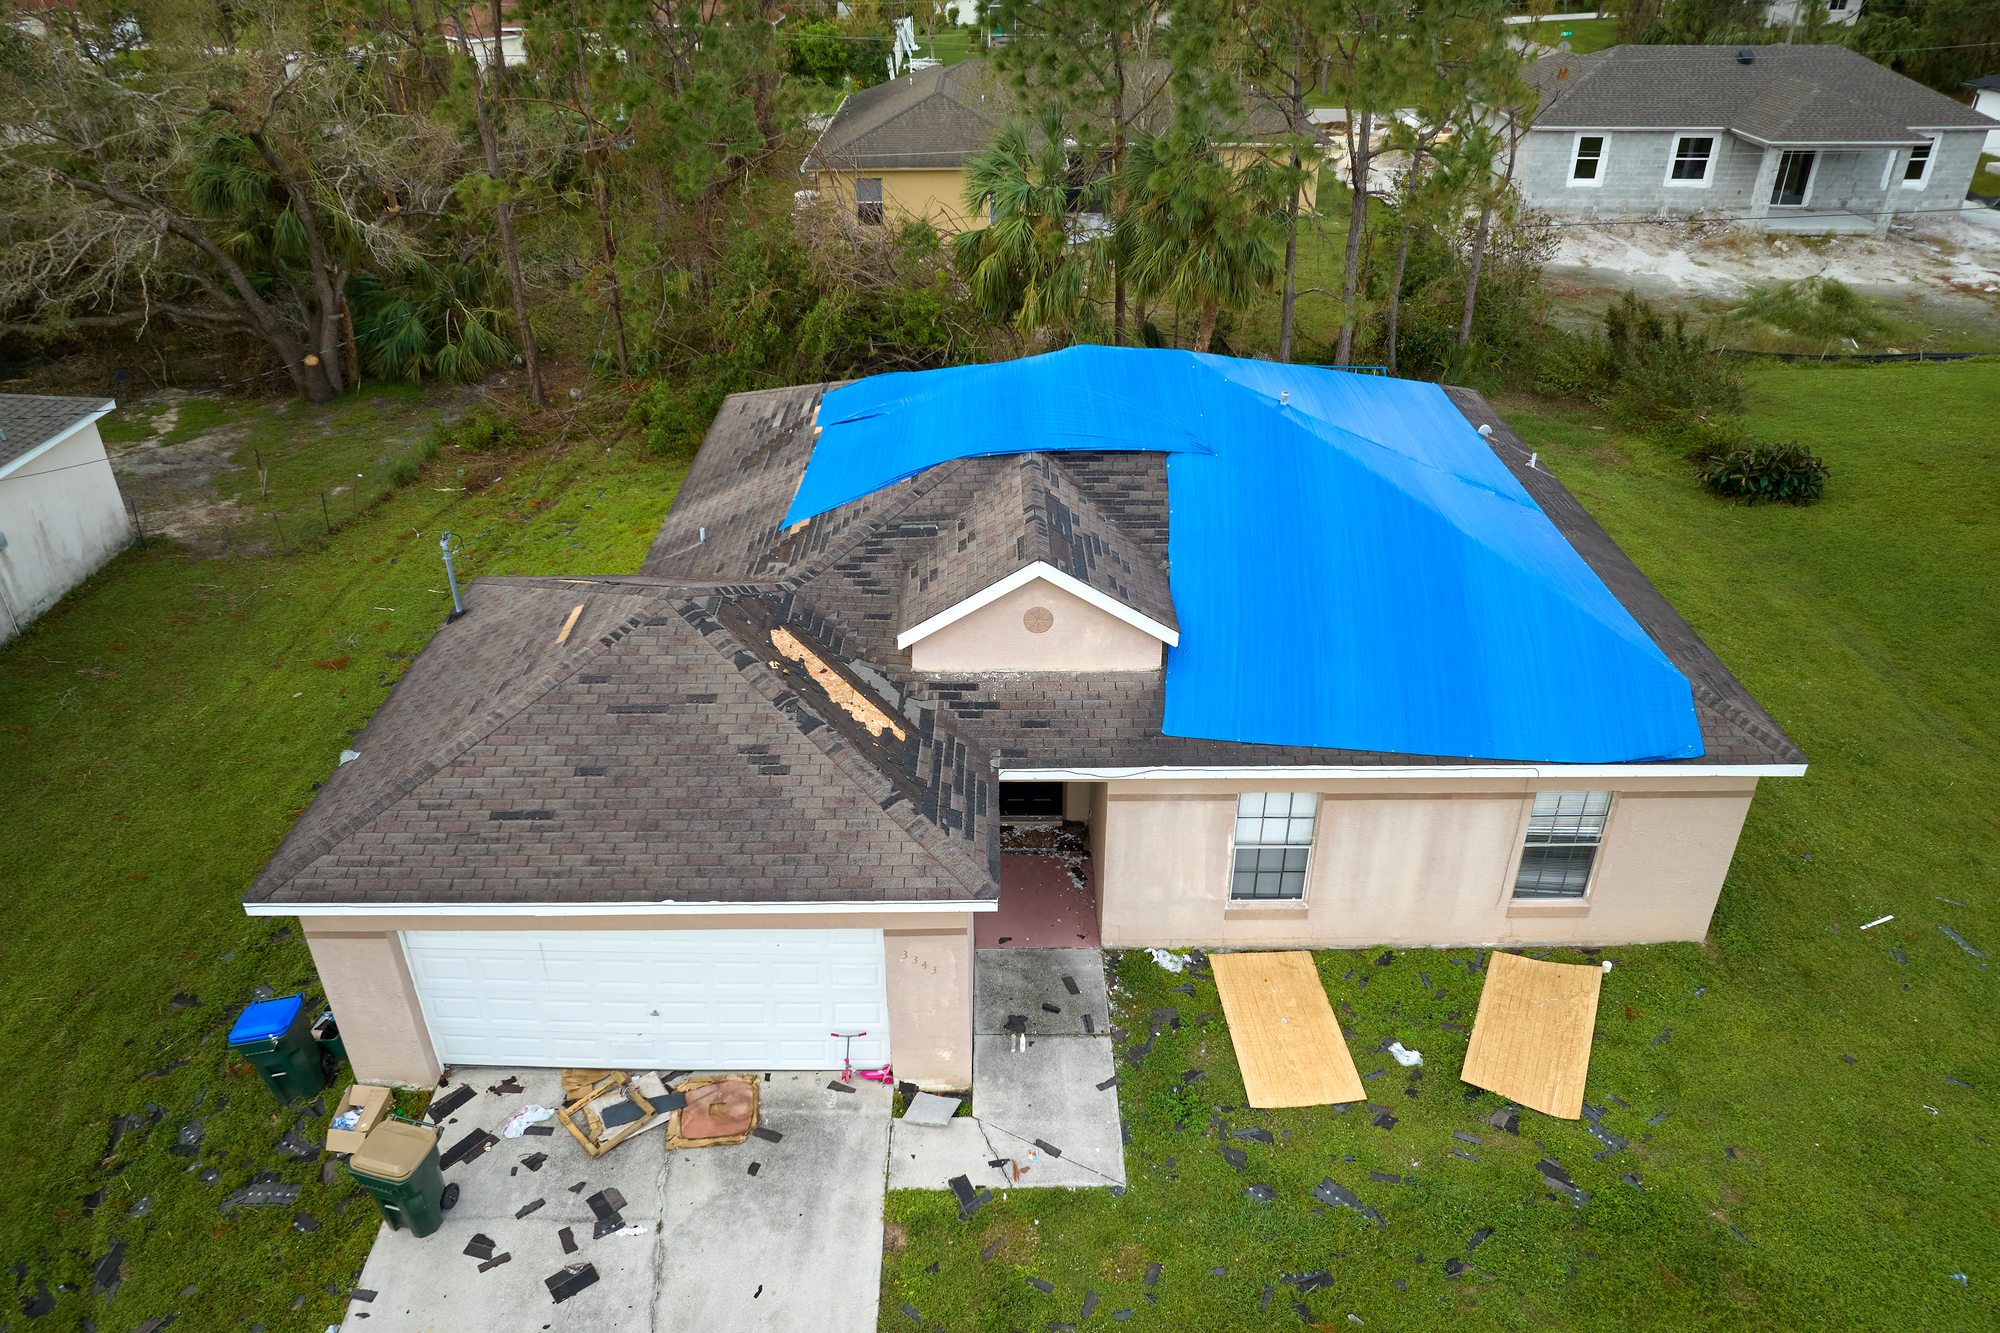
The Pacific Northwest’s stunning landscapes come with a unique challenge for homeowners: unpredictable weather, including heavy rainfall, strong winds, and occasional storms. When your roof gets damaged during these wet conditions, knowing how to perform emergency roof tarping is essential to prevent further damage to your home. In this blog, we will provide you with valuable tips for emergency roof tarping in the Pacific Northwest, helping you protect your property and belongings.
1. Safety First
Safety should always be your top priority when tarping your roof in emergency situations. Start by assessing your surroundings and removing any obstacles or hazards that could cause accidents. Be cautious when working on a wet or slippery roof, and avoid any electrical lines or equipment.
2. Assess the Damage
Before you begin the tarping process, assess the extent of the damage to your roof. Identify the source of the leak or the area that requires protection. This will help you understand where to place the tarp most effectively.
3. Gather Necessary Supplies
Ensure you have all the required supplies on hand before you start the tarping process:
– A sturdy tarp: Choose a high-quality tarp that’s large enough to cover the damaged area with some overlap.
– Rope or bungee cords: You’ll need these to secure the tarp in place.
– Work gloves: Protect your hands while handling the tarp and other materials.
– Ladder: Make sure the ladder is in good condition and positioned securely.
– Nails and a hammer: These may be necessary to secure the tarp to the roof.
4. Tarp Placement
Place the tarp over the damaged area, ensuring it extends beyond the damaged section. For extra protection, overlap the tarp edges and secure them properly. You may need assistance from another person to hold the tarp in place as you secure it.
5. Secure the Tarp
Use ropes or bungee cords to secure the tarp to the roof. Create a tight and even fit to prevent wind from lifting the tarp or rain from seeping underneath. Secure the tarp along the roof’s edges and corners to ensure it stays in place.
6. Nail Down the Tarp
In areas with strong winds or where you anticipate heavy rain, consider using nails and a hammer to anchor the tarp. Gently secure the tarp to the roof, taking care not to damage the underlying structure. Nails should be positioned around the tarp’s edges and spaced evenly to keep it in place.
7. Monitor and Maintain
Regularly check the condition of the tarp to ensure it remains secure and effective. Winds and rain may cause adjustments to be necessary over time. If the weather improves and it’s safe to do so, make permanent repairs or call a professional roofing contractor to assess and fix the damage.
8. Professional Help
While emergency roof tarping can be a temporary solution, it’s crucial to contact a professional roofing contractor as soon as possible for permanent repairs. A damaged roof needs proper attention to prevent further issues.
Emergency roof tarping is a crucial skill for homeowners in the Pacific Northwest, where wet conditions can lead to roof damage. By following these tips, you can effectively protect your home until permanent repairs can be made. Remember to prioritize safety, use high-quality materials, and regularly monitor and maintain your emergency tarping to keep your home and belongings safe and dry during inclement weather.

